


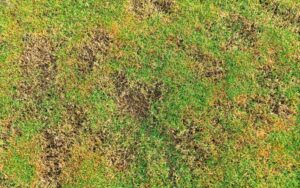
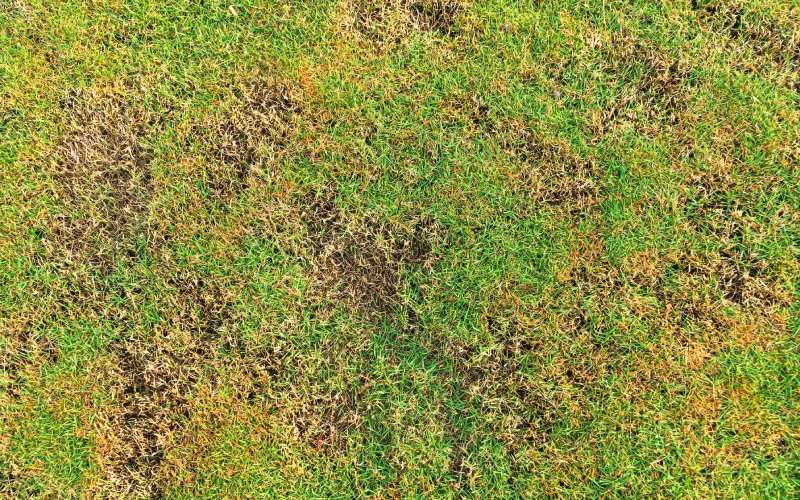
It happens at the beginning of every spring – the snow melts from the ground and we flock outside to feel the warmth of the sun and to see the first sight of our green yard. More often than not though, the grass isn’t always as green we want it to be. Lawn care seems like a huge undertaking and sometimes we tend to neglect a landscaping project that just needs to get done.
At CF Landscaping, we understand you want your lawn to look green, clean and fresh. But we also understand lawn care basics can seem intimidating, especially with endless weeds preventing you from achieving the aesthetic you desire.
We believe the fastest and easiest way to establish a perfect yard is the installation of new sod. And although you may have heard a seeded lawn is the cheaper route, laying sod is actually the most economical result overall.
The maintenance of a seeded lawn involves potential issues such as erosion, reseeding, over-seeding and the risk of excess watering. Seeds can also take two to three weeks to germinate and require great care and attention in order to grow into a mature, healthy lawn. It could take months because you’re able to enjoy your green lawn, whereas new sod will be complete in less than four weeks. With the unexpected and reoccurring costs associated with seeding, newly laid said is undoubtedly the more advantageous resolution.
Now that you’ve decided to sod your lawn, let CF Landscaping help you with these simple eight steps for how to lay sod and ensure your sod is laid perfectly for a long-lasting, healthy lawn! And the best part? You’ll be able to enjoy a beautiful yard for years to come!

Steps
8
Difficulty
Moderate
Time Required
5 Hours
Estimated Cost
$$
Quick Tips
- Ensure the ground is not frozen
- It's best to lay sod in the early fall or spring.
- Give yourself one day to prepare and one day to lay the sod.
What You Need For This Project
Tools
- Utility Knife
- Tiller
- Shovel
- Levelling Rake and Broom
- Lawn Roller
Materials
- Sod
- Topsoil
- Composted Organic Matter
- All-Purpose Granular Fertilizer

Step By Step Instructions
Step One: Prepare Lawn Area
When preparing the lawn area for new sod, you’ll need to remove between 3-6 inches of soil. This is dependent on the severity of the weeds. If you have a lot, you will likely need to remove more soil. If there’s a minor weed issue and you’re just looking to make the grass look nicer with new sod, you’ll only have to remove 3 inches.
We believe it is important to first assess the number of weeds prior to deciding how much soil to remove.
Step Two: Grade & Pull Up Soil
- Using a Rototiller - This is an affordable option that allows you to rent tools from a supply store such as Home Depot. Rototillers feature settings with multiple levels of depth, making it more accurate than other methods.
- Using a Mini Excavator - This method is best reserved for someone who feels comfortable operating this kind of equipment. When using this machinery, grade off the appropriate amount of soil and place it directly into the wheelbarrow. Then dispose of the soil by discarding it into a Clean Fill Bin or a dumper trailer.
- Hand shovelling - This option should only be used if you plan to lay the sod in a small area. It is cost-efficient, but it can also be time-consuming and difficult to obtain an evenly finished grass.
Step Three: Discard Soil
Step Four: Add Topsoil
This calculator is a great tool to help you measure how much topsoil you will need to buy. We recommend using it before going to the stores to buy sod, soil and any other products you may need.
After the debris has been discarded, bring in new topsoil to replace the amount that was removed from your lawn. Spread it around until you have at least 1 inch of layers using a shovel and then rake it in. Adding topsoil to your lawn will smooth low spots and provide a fertile growing ground. It is the key foundation to your new lawn filled with healthy, green looking grass.
Step Five: Water Site
Step Six: Roll Soil
Now that you have clean soil back in your yard, you will want to lightly roll it. This is a method of compaction to condense the new turf and decrease the chance of runoff and air pockets. Before you start, do a soil test. It is best to roll when the lawn is slightly damp. If you roll when it is still soaked, heavy soil compaction will make it difficult to ensure the lawn gets the air and water it needs. Using a lawn roller that is 1/3 full of water will firm the soil surface and help to reveal the low areas that may require another layer.
*Quick Tips
When learning how to lay sod, these first six steps should be completed BEFORE the sod arrives. Laying sod pieces shortly upon delivery is crucial to ensure a lasting result.
Step Seven: Lay Sod
Now you’ll start with the actual sod installation. Make sure this is done within 6-12 hours of the sod arriving as you don’t want to overheat. If the sod arrives on a pallet, unroll the first set of sod strips and allow it to air out.
To begin laying sod, work in one section at a time. Start the first row of sod along a straight edge like a fence or driveway and then continue to lay rolls beside each other one at a time, similar to how you would for bricklaying. After completing the first row, be sure to line up the pieces against the edges of the previous row. Work with whole pieces of sod rolls and be sure to and lay sod end-to-end and side-to-side.
Avoid walking on the lawn and smooth out wrinkles you work on each row. Do this by patting down the sod so it is flat against the soil with no air pockets between.
Once the surface is complete, using a sod cutter or sharp knife, cut the other rolls in half to stagger the seams in the middle areas. This will prevent the edges from drying out.
We believe in buying quality products for our lawn care. Make sure to research sod farms here in Ontario.

Step Eight: Water New Sod
We Provide Professional Sodding Installation
Creating a beautiful landscape is our passion here at CF Landscaping. We offer sodding installation in the GTA, Guelph and the Eramosa Area.


 Call 519-279-6797 For A Free Quote!